In addition to using the fill-in-the-blank forms
that come with ASIST you can also create customized inspection
checklists to use for your inspection program. These profiles can be
loaded onto your inspection forms and used to extend the inspection
capabilities of ASIST.
- Sampling Profiles are module specific which means that a
profile built for use in the Outfall module will not be
available in other modules of the software.
- Sampling Profiles may contain more than 1,000 individual
items for analysis.
- Each module of ASIST that utilizes sample profiles may
contain up to 7,000 different profiles
- Sampling Profiles may be exported and imported between
organizations via the Profile Import/Export Utility.
The create a sampling profile follow the steps below.
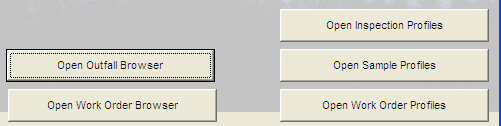
There are two ways to create a sample profile. To add a sample
profile to a module select the module by clicking on the appropriate
module shortcut in the Navigation bar. Next click on the Button
labeled Open Sample Profiles as is shown in the example below.
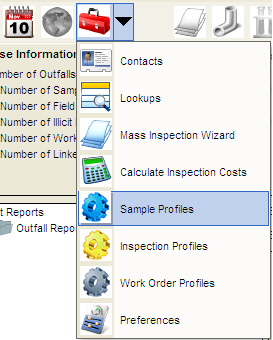
If you are already in a module you can click on the Tools button
in the Button Bar and select Inspection Profiles.
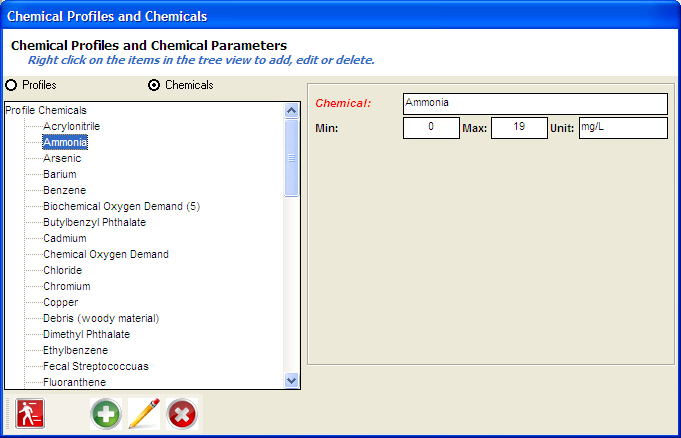
When selected the Chemical Profiles and Parameters form appears.

Individual profiles are displayed in the Profiles navigation
tree. As is shown in the example above a Profile is a collection of
individual chemicals. The ASIST software has a standard list of
items included in the database. This list was developed using
recommended U.S. EPA chemicals of concern for stormwater programs.
To review the included list of chemicals or to add your own click on
the Chemicals radio button above the navigation tree. The parameters
listing will appear as in the example below.
You may add, edit or delete any chemical by clicking on the
appropriate button on the bottom of the form.
To create a sampling profile follow the steps outlined below.
- Click on the Profiles radio button above the navigation
tree.
- Click the Add button at the bottom of the form.
- Assign a name to the Profile and provide a brief description
if desired.
- Click on the blue Add Chemical button that appears under the
profile name.
- Click on the dropdown list that appears and select the
desired chemical.
- Click on the Add Chemical button again to add another
chemical to the profile.
- Repeat these steps until all the desired chemicals have been
added.
- Click the Save Button when finished.
The image below illustrates the steps above.

|